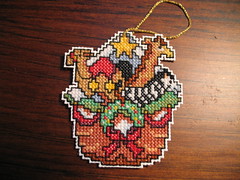
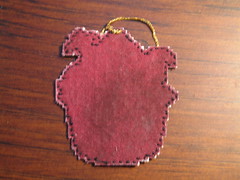
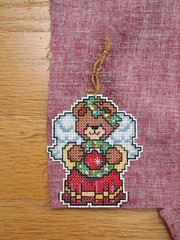
Once I've finished all the crosses and the internal back stitching, I glue the fabric onto the back with some all-purpose tacky glue. I then do the final back stitch outline around the whole ornament to keep the fabric in place better and to finish it nicely. I like the look of just the outline on the back.
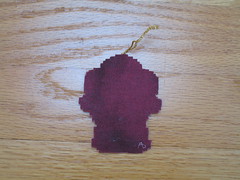
The first one I ever did, however, was not finished in this manner. In fact, it wasn't until after I finished that one that I realized I'd like a better manner to finish the back. The first one I did:
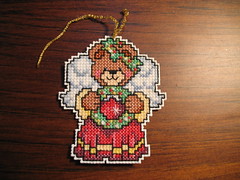
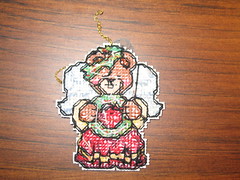
While the back doesn't look horrible, it also isn't really finished. It needs some sort of backing. Since I was going through all of my unfinished things in my craft bin to sort them for travel, I realized this was an easy finish. It won't be quite as finished as the rest of them, since I'm not going to re-stitch along the edges, but it won't look unfinished from the backside either.
Step 1: Finish stitching (done)
Step 2: Glue wrong side of ornament to wrong side of fabric. Do not mess this step up. I tried to once. Had to peel the fabric back off. Luckily, it was wrong side of ornament to right side of fabric, not the other way around, so the glue didn't mess up the ornament.
Step 3: Cut out bear outline out of fabric.
Step 4: Put into growing collection of completed ornaments awaiting gifting. I have about ten of these done and another five that are pretty much done but I lost the gold thread to hang them on. Which means they should be in the "In Progress" pile, but they're not. Not until I get the thread at least, and then they probably will be since that will be an easy bunch to finish.
I also, if you can see it, embroidered a little "A" at the bottom of the ornament. I'm going to try to use this pink metallic thread to embroider an "A" somewhere into all the gifts I give as a trademark think. I was trying to decide if I should go with an "AR" as that's my new initials, and I think I will in the future. Move the little loopy bit that connects the horizontal line of the "A" to the leg to the other side, make the right-hand leg vertical, and continue the cross around into the loop of the "R." I'll have to try that next time.
No comments:
Post a Comment
Thanks for taking the time to comment on my blog!