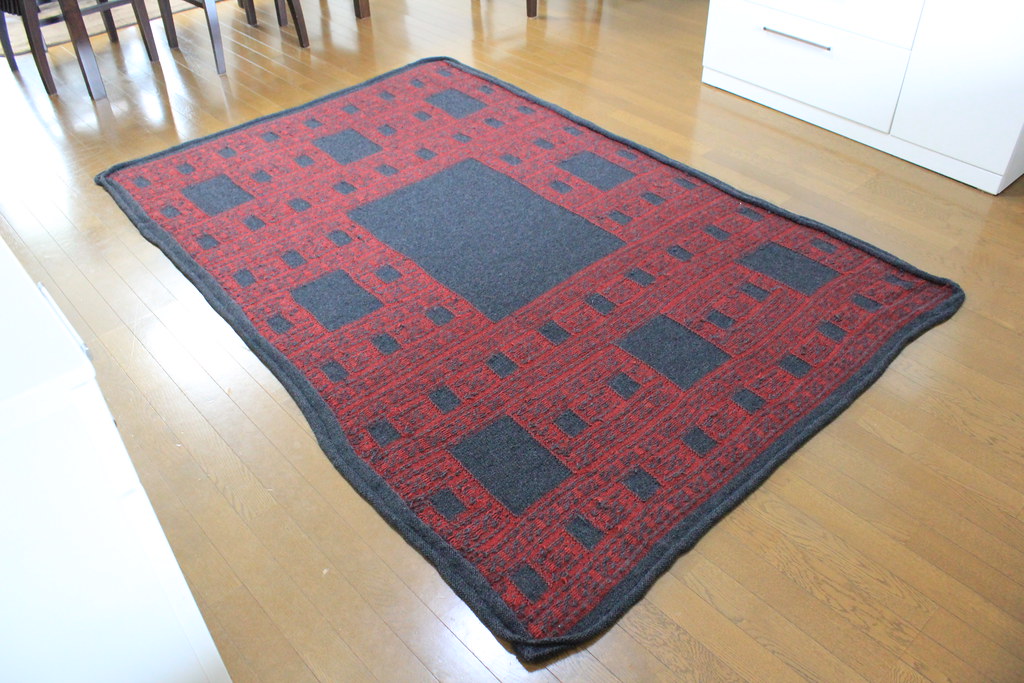
The pattern was simple, as the Sierpinski Carpet pattern is quite easy, and the plan was eight of these mitered squares around a solid colored center mitered square. As you can see, the corner squares weren't exactly square. Okay, start again.
For the second attempt, I decided to just knit the whole thing in one go using intarsia and stranding to get the design I wanted. I figured that while separate squares might be easier to work on piece by piece, I know I hate seaming and the final product would look better as one solid piece. Additionally, since I'd be stranding anyway, making it in separate pieces wouldn't make the actual work any easier. Having over 40 bits of yarn going at once was a bit much, but I still managed to make it work and finally, nearing their one-year anniversary, I finished the blanket:

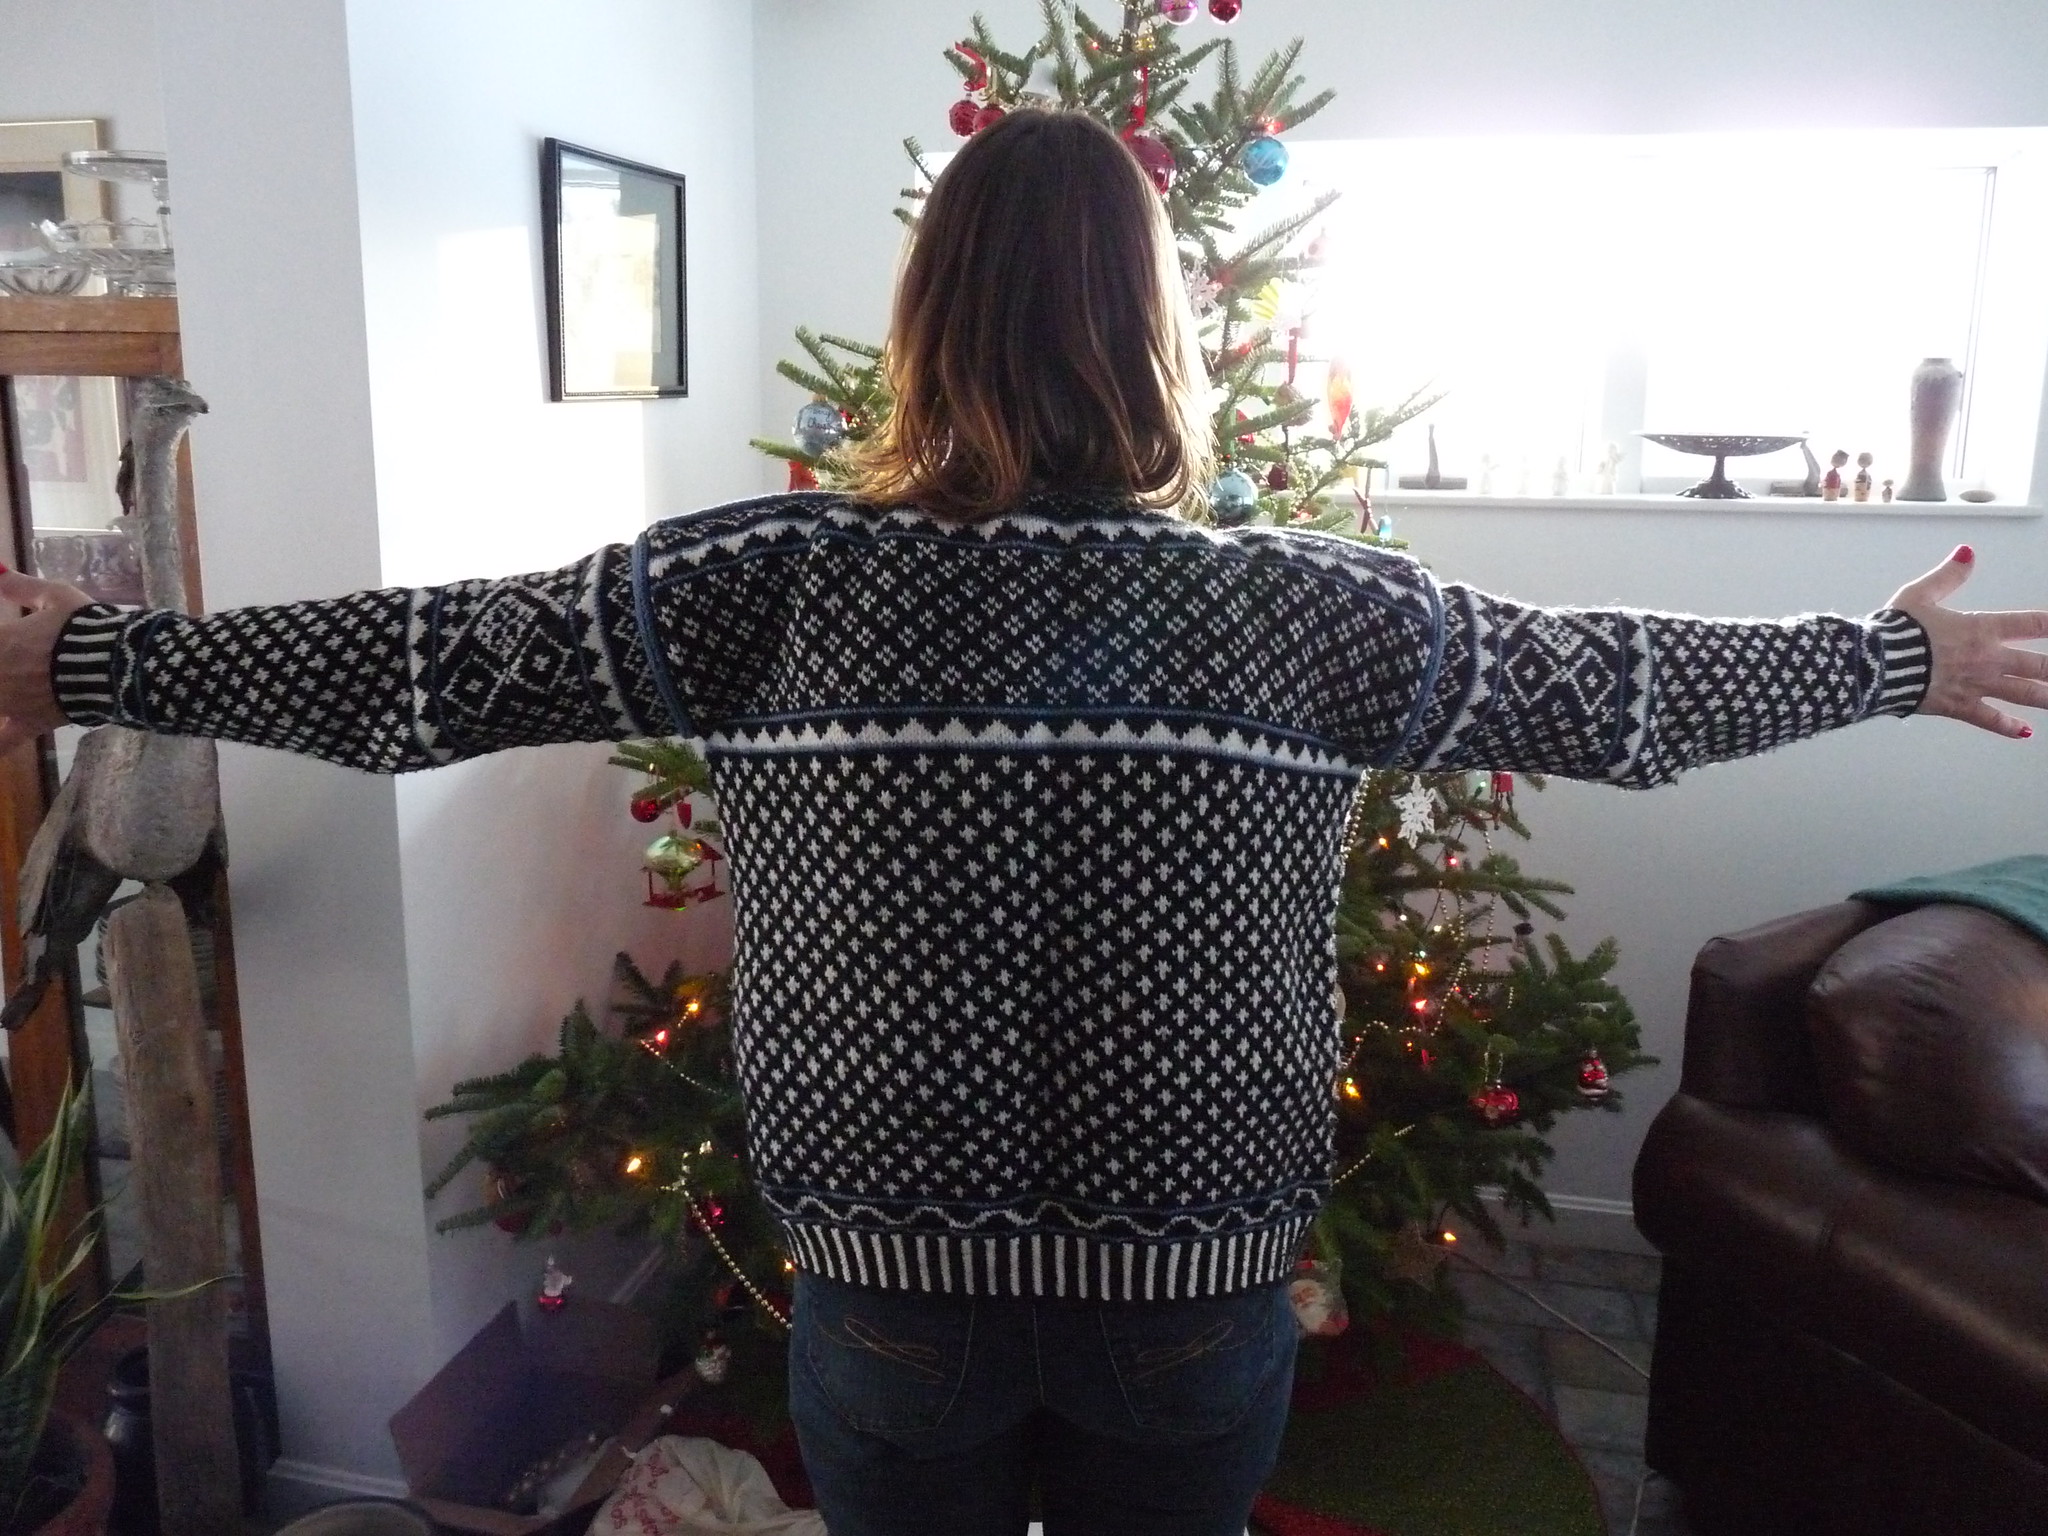
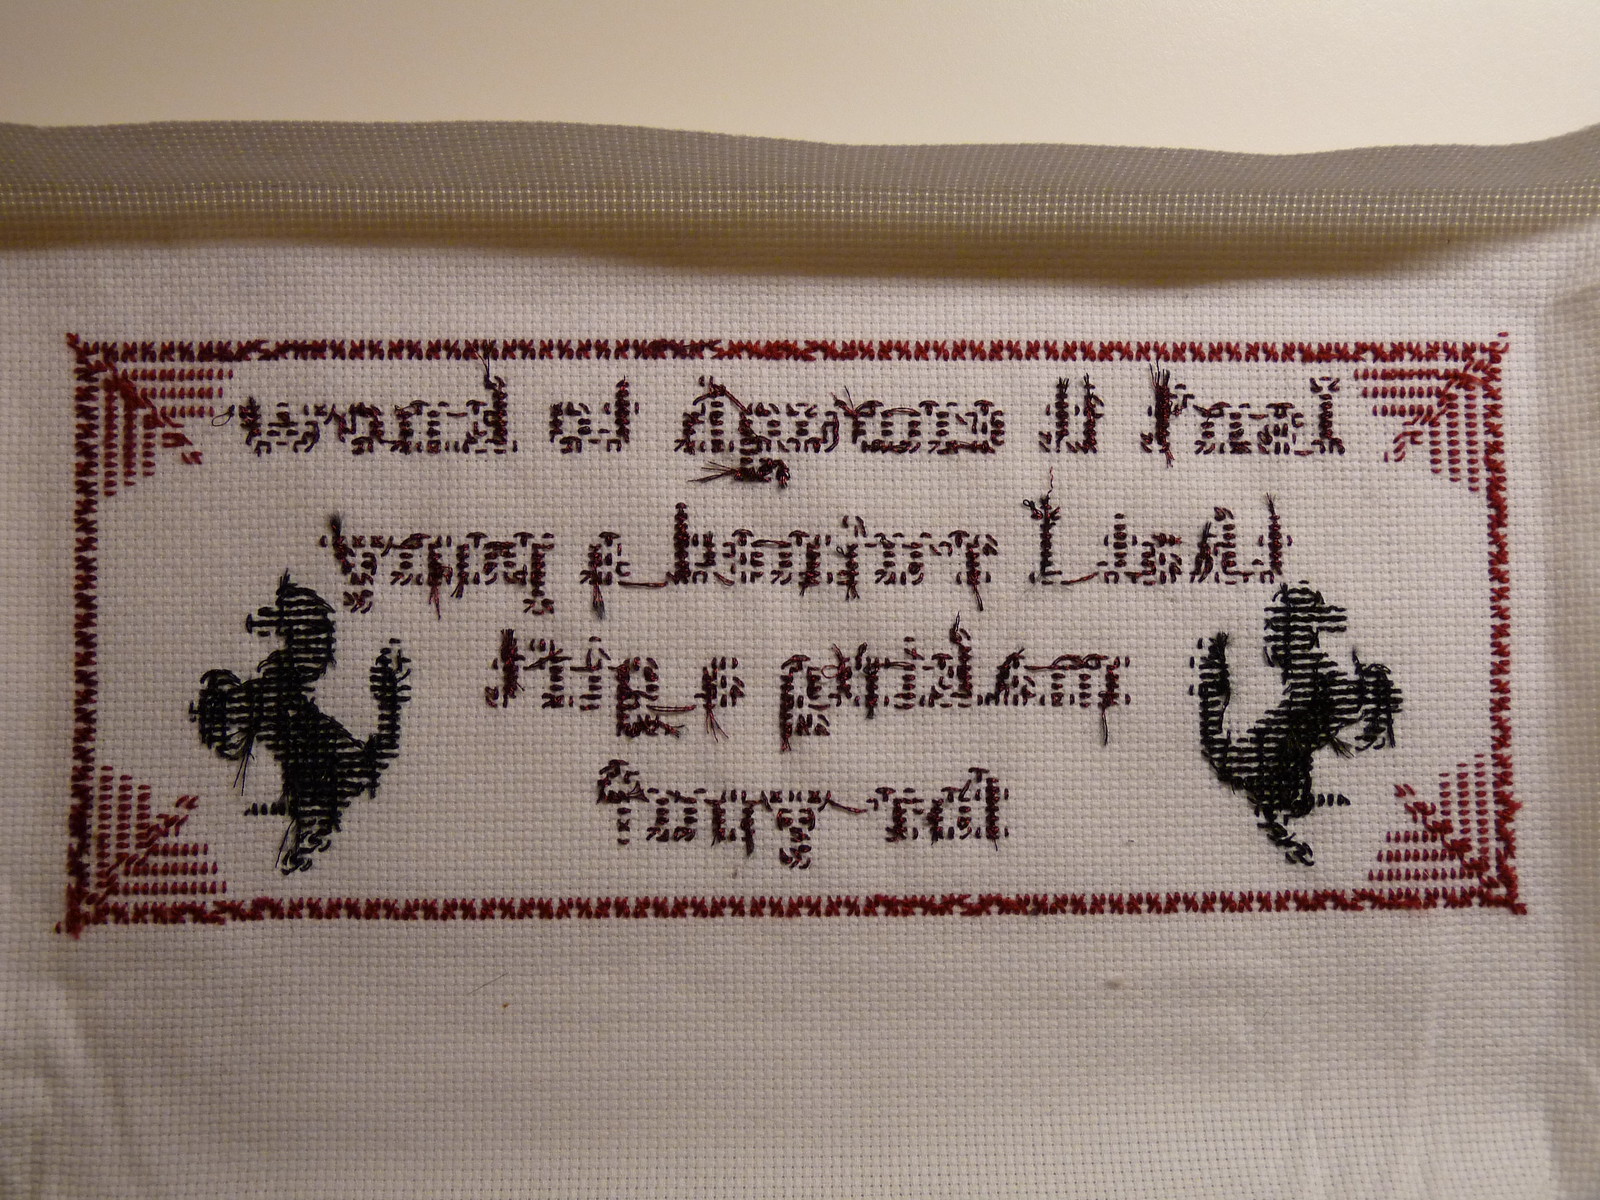
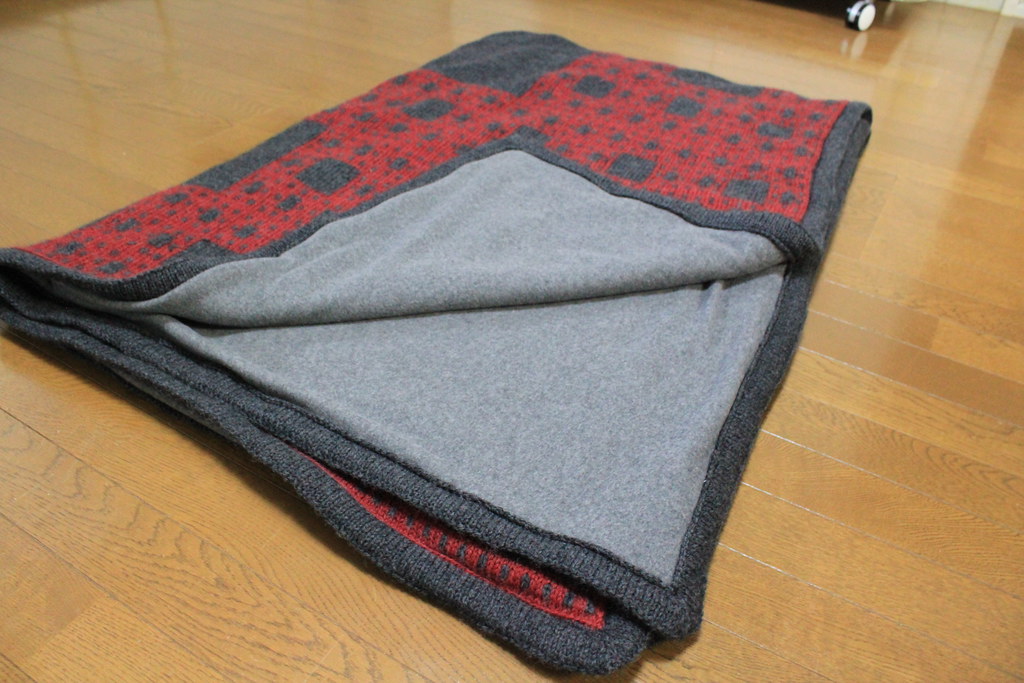
Backside glamor shot:
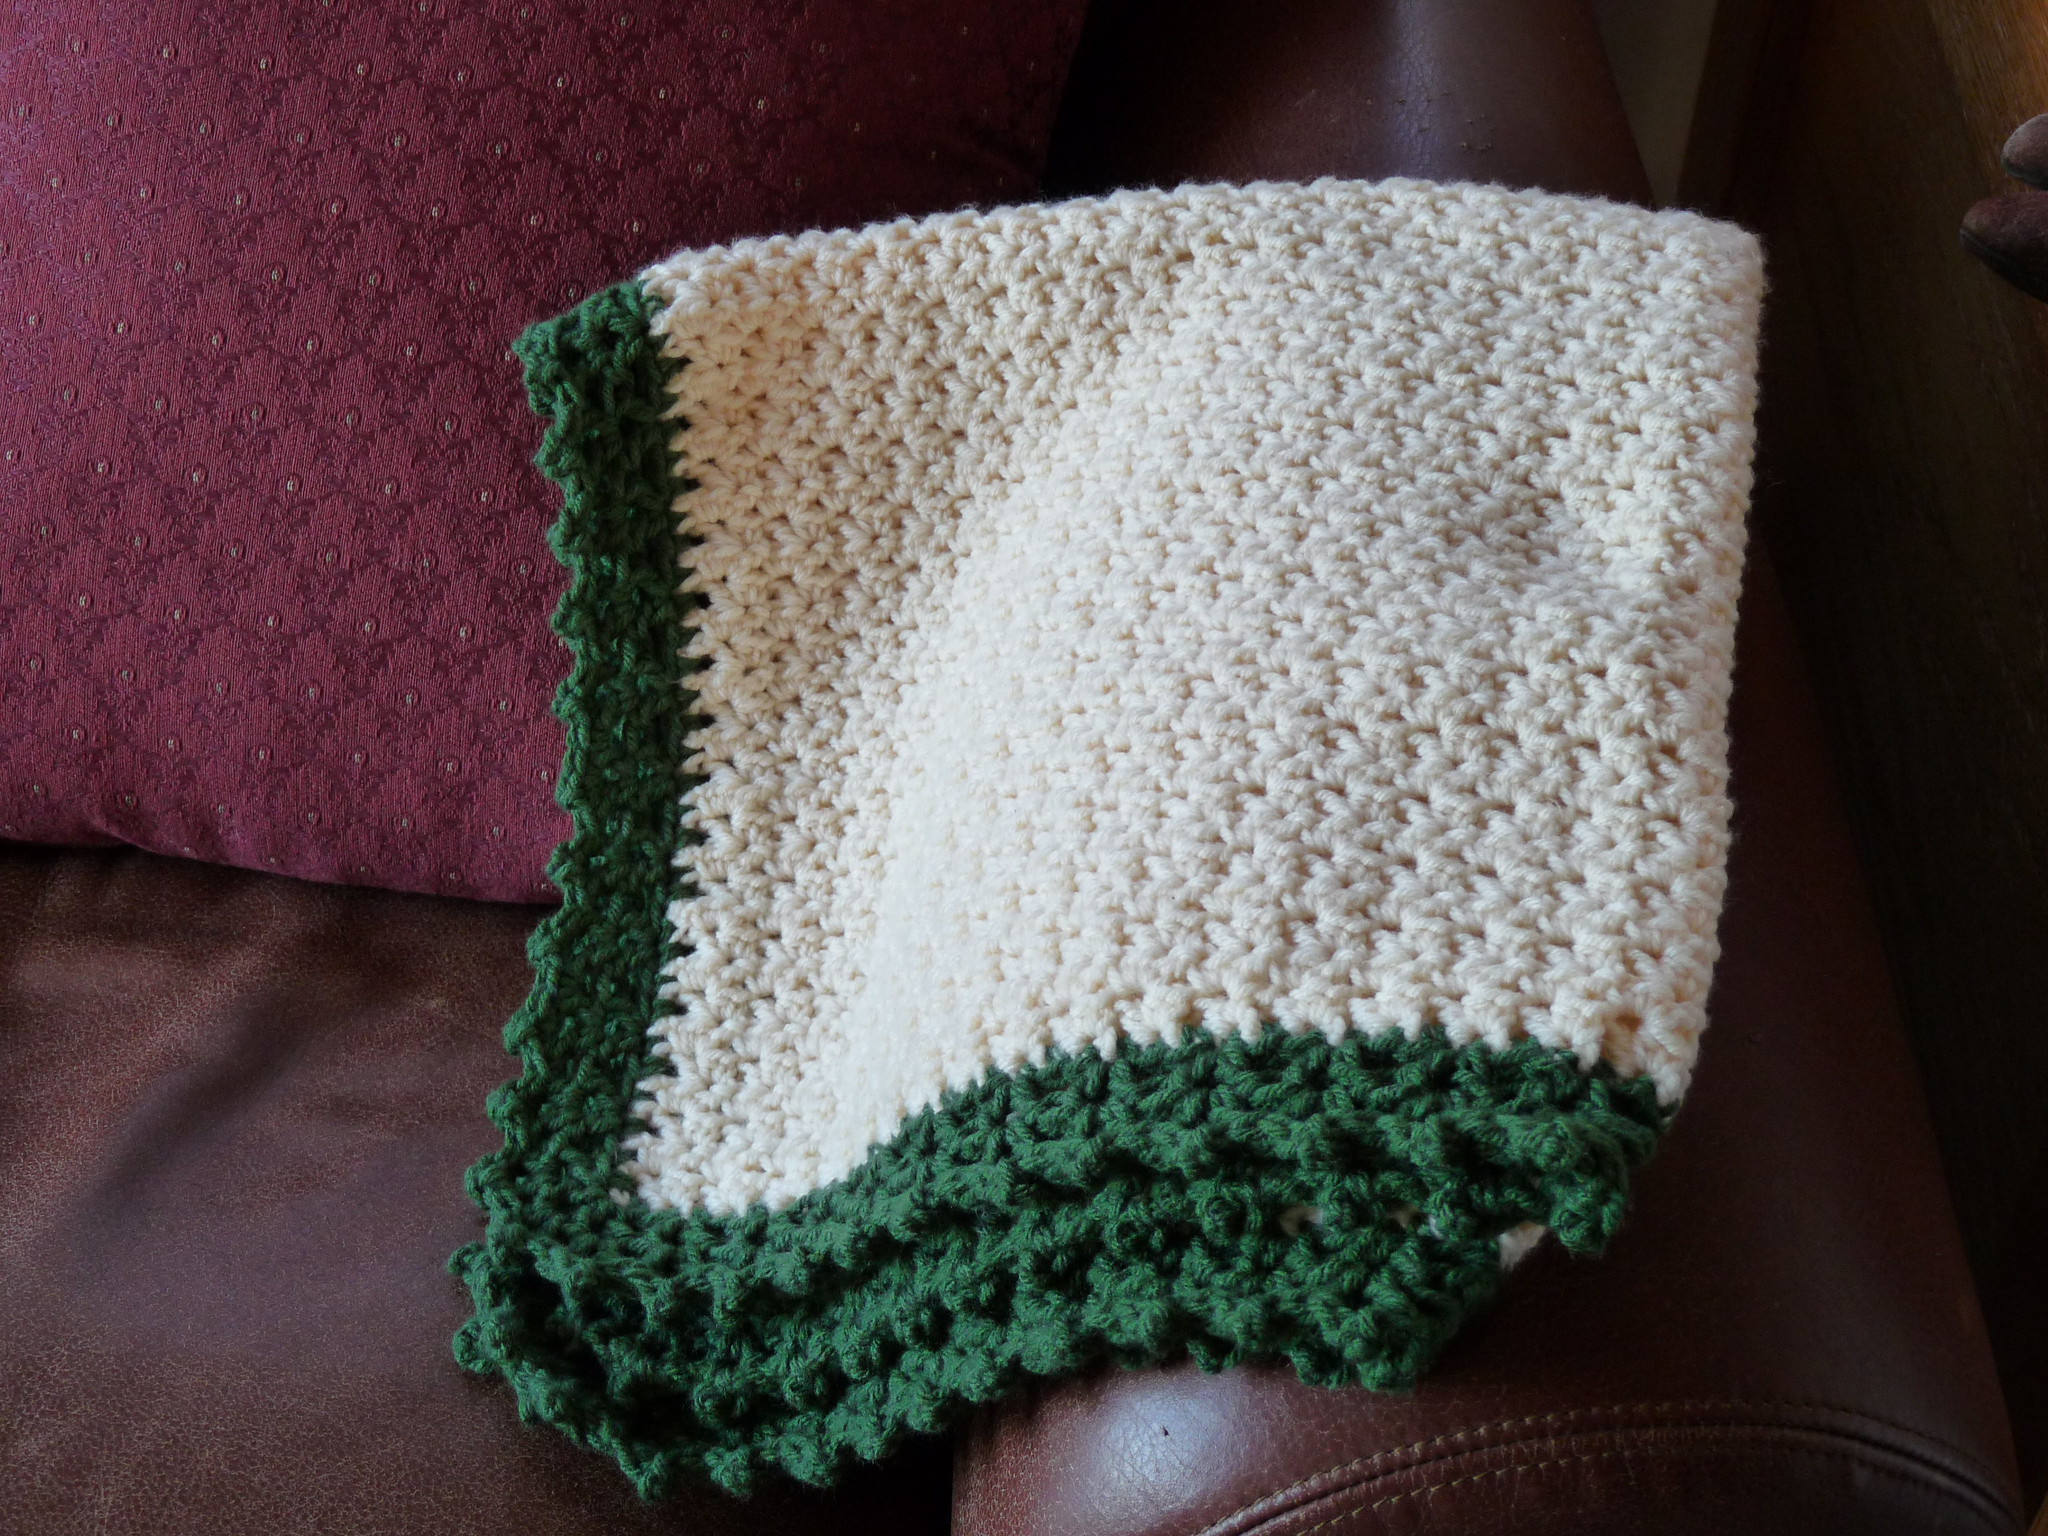
The border is a double border, mitered in the corners and folding over to the back as you can see in the last picture. This is so I could put a soft felt backing on it. The backing serves multiple purposes, keeping the floats from getting snagged and messing up the blanket, covering up the wrong side of the work, and giving a much softer side for cuddling under. The wool was a fairly scratchy yarn and should be quite warm, but isn't something most people would want next to their skin. After I sewed on the backing, it looked quite professional and finished. Some people apparently don't believe that it's handmade, and I've been told that at least one person scoured the blanket trying to figure out where I took the tag off to prove it wasn't handmade. I must say, that makes me quite proud of my work!
Pattern: None (Ravelry)
Yarn: Nikke Victor Shetland 9, a yarn I got in Japan during their New Year's sale.
Needles: US9/5.5mm
Timeframe: February 13, 2010 - July 29, 2011
Mods: None, it was my own pattern.
Problems: See above!